Setting up the MAMP PHP/MySql Environment on a Macintosh
We will install the MAMP bundled PHP/MySql system. Installing the MAMP (or similar) bundle is much easier than installing all the components separately.
Pre-Requisite: VSCode or some other Programming Editor
https://code.visualstudio.com/
Installing MAMP
There is a screen cast of this process below on YouTube. You can watch the screen cast and follow along to complete the tasks. There are notes below the YouTube video as well. You may want to print this page to have the notes as you follow the steps in the video.
Installation Notes
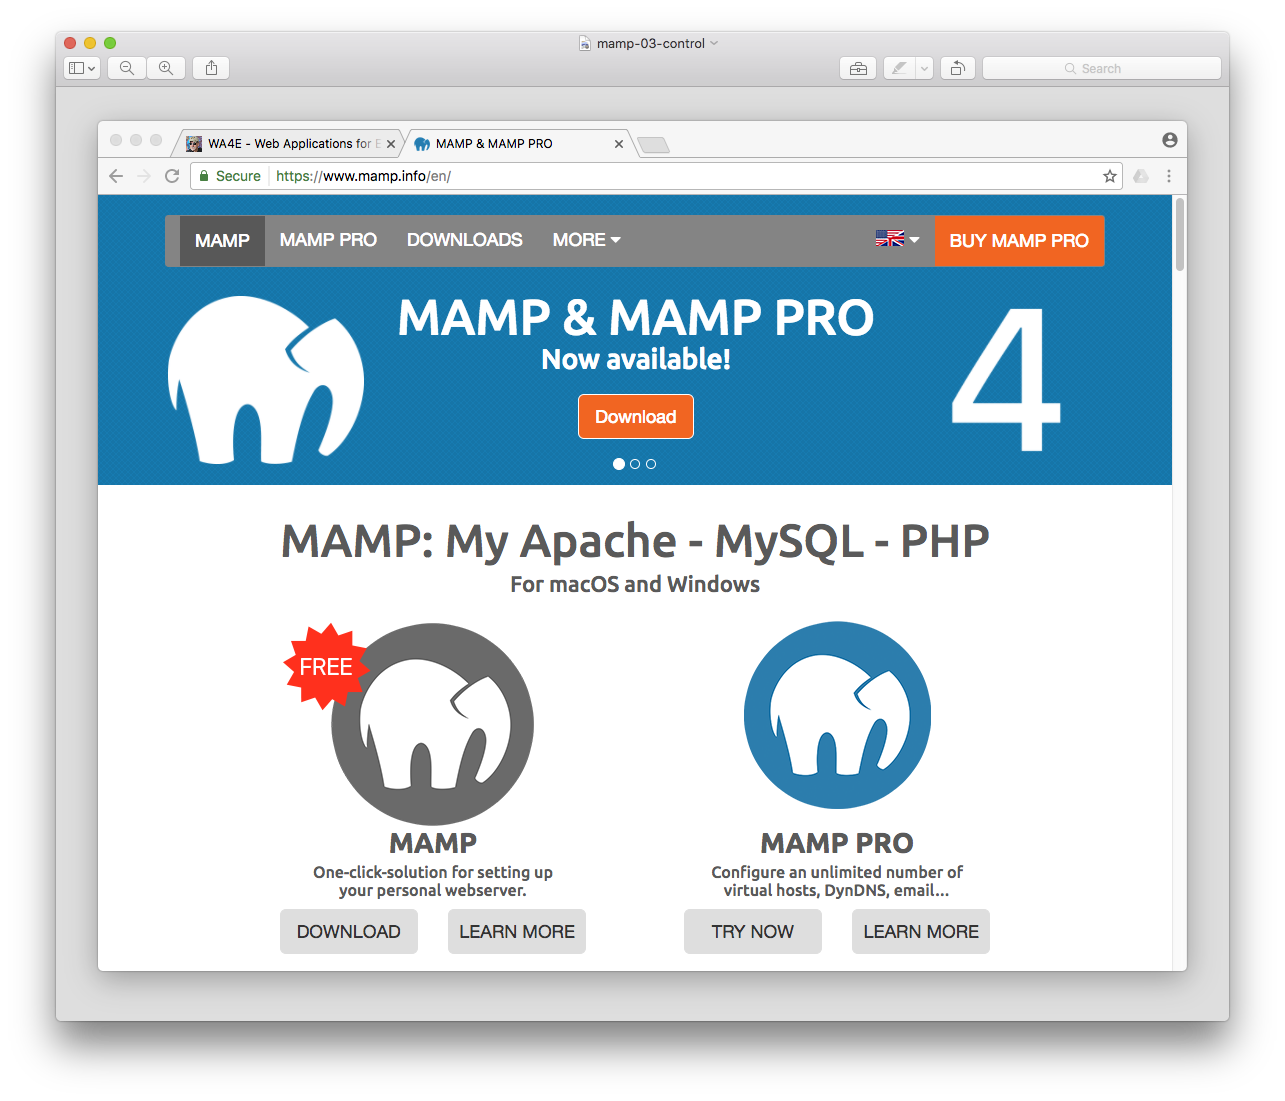
Download the installation package from:
http://mamp.info
It will download into your Downloads folder as a rather large ZIP file.
Depending on your browser, it may auto-extract
the ZIP into a file like MAMP_MAMP_PRO_4.1.pkg. If your browser does not auto-extract ZIP
files, click on the ZIP file to produce the PKG file. Click on the PKG file to perform
the actual install.
Make sure you are doing this on an administrator account. You probably will have to
enter the password for the administrator account during installation.
Then Navigate into /Applications/MAMP/MAMP to start the control panel. The first time you start MAMP it might suggest you use MAMP Pro - you can ignore this.
To stop the nagging, uncheck the check box and click on Launch MAMP - that should stop the nagging for a while.
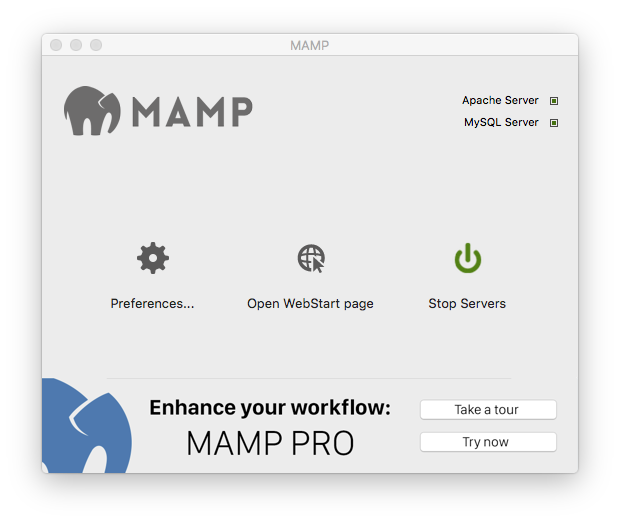
When MAMP starts you should see a control panel and it should start both the MySQL and
Apache Servers automatically. It also generally opens the start page automatically as well.
The control panel allows you to start and stop the servers and go the the start page.
Once the control panel is working - you don't use it very much.
The start page is located at http://localhost:8888/MAMP/ and it is generally the way you work with MAMP and MySql.
Your First PHP Program
Open a text editor (i.e. VSCode) and put the following text in the file putting your own name in instead of mine:
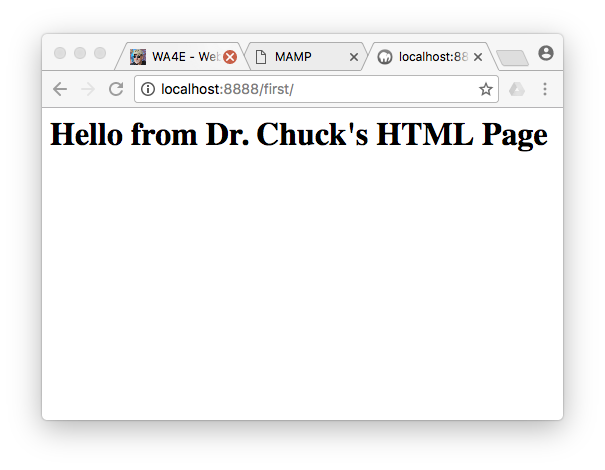
<h1>Hello from Dr. Chuck's HTML Page</h1>We will start simple and since PHP is simply an extension of HTML, our first program is just an HTML file.
Save this file as:
/Applications/MAMP/htdocs/first/index.php
Create the folder first under the htdocs folder when you save the file.
Once you have saved this file, navigate your browser to:
http://localhost:8888/first/index.php
And you should see your web page in your browser.
Once that works, lets add a little PHP to our HTML. Change your file to be as follows and re-save:
<h1>Hello from Dr. Chuck's HTML Page</h1>
<p>
<?php
   echo "Hi there.\n";
   $answer = 6 * 7;
   echo "The answer is $answer, what was the question again?\n";
?>
</p>
<p>Yes another paragraph.</p>
After you save, press "Refresh" in your browser and it should appear as follows:
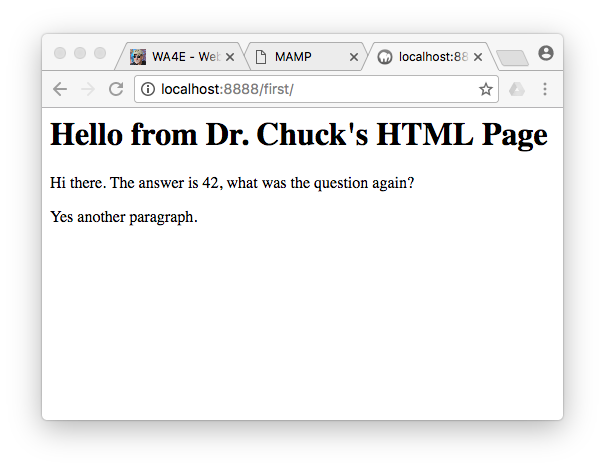
Congratulations, you have written your first PHP program.
Displaying Syntax Errors
MAMP usually comes configured by default not to display errors when you make a mistake in your PHP code. This is an appropriate setting for production servers but very inconvienent when developing PHP code.
The solution is to find and edit the php.ini file that controls the XAMPP configuration, search for the setting display_errors and set the value to On and then restart your Apache server.
On MAMP the php.ini file is located here:
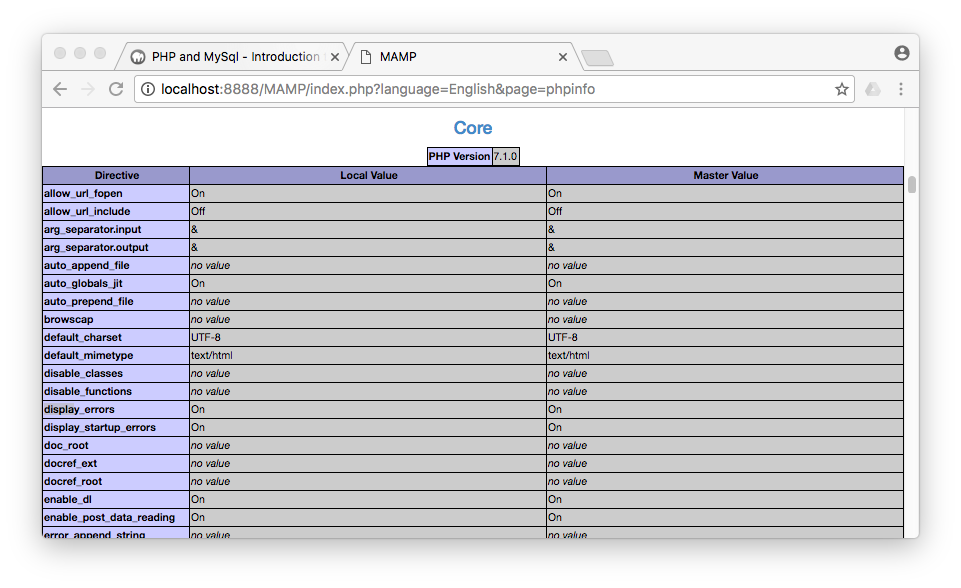
/Applications/MAMP/bin/php/php7.1.0/conf/php.iniThe "7.1.0" might be different on your system. You can always find where php.ini is by looking at your PHPInfo screen. You should find and change the setting to be:
display_errors = On
Then you will need to stop and restart the Apache and MySQL servers using the MAMP, control panel and when you are done, you can use phpinfo check to make sure that your setting was successfully changed.
It is important that you change this setting right away or you will be rather confused when your PHP code fails and you never see any error message.